2/16/2020 - 2/22/2020 - Bucket List
Byron-
On my bucket list is a type of photography I've only just dipped my toe in it. That is architectural photography. I'm looking forward to capturing interiors of cathedrals and other large buildings. Exteriors of those buildings are a close second. It is best to capture them early morning or just after sunset. That's true of most things.
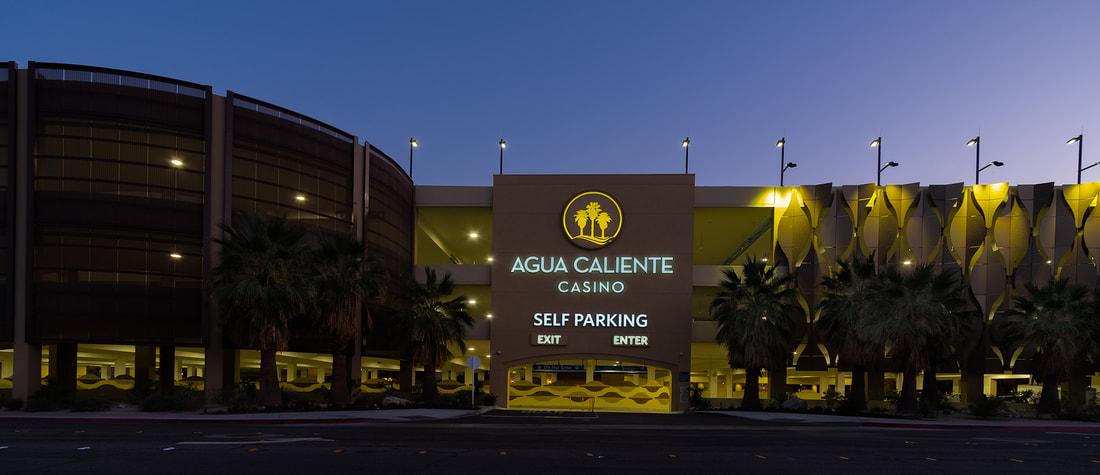
The submission this week is the Agua Caliente Casino parking ramp. Over the course of the last several weeks, I've walked past it at dusk and was impressed with the way it looks.
Fujifilm XE-3, 1/15 sec, f4, ISO 200.
The submission this week is the Agua Caliente Casino parking ramp. Over the course of the last several weeks, I've walked past it at dusk and was impressed with the way it looks.
Fujifilm XE-3, 1/15 sec, f4, ISO 200.
Darin-
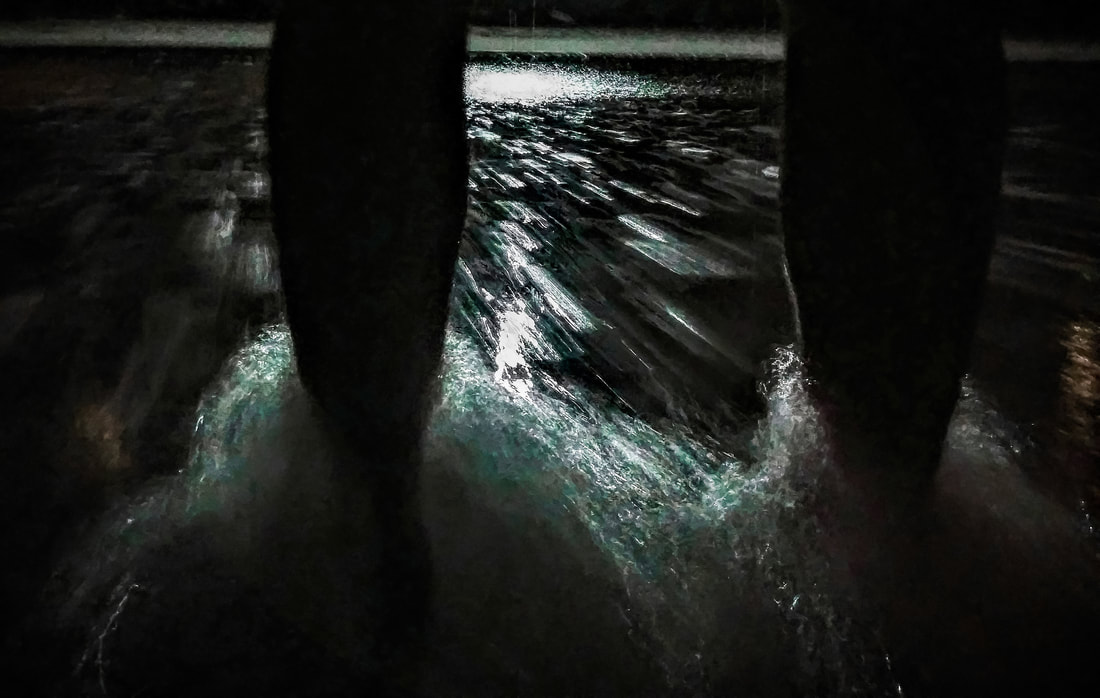
Well, I'd like to do underwater photography, but I don't have the proper equipment. I call this one 'Above Underwater'.
My transmission overheated in Rancho Bernardo going to San Diego for work on Thursday. Too late to get to court, I let it cool down for an hour and a half, while I rode my bike. After that, I drove over to Solana Beach and stayed the night at my Uncle Tom and Aunt Debi's rental condo, which is just a few steps from the beach. The ocean is amazing and intimidating at night!
Next morning, drove to San Diego, did my work and drove home.
Taken with my phone and bumped up the aqua a bit.
Kevin-
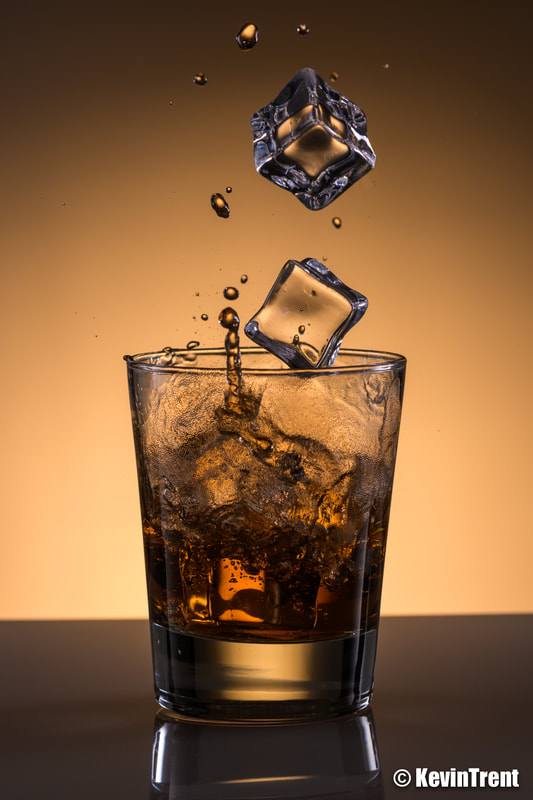
Okay, the Bucket List idea was to take a photo that you have always wanted to take, but haven’t been able to do until now. Please, I picked up a real camera for the first time in my early teens. So I have been shooting for nearly five decades. There are plenty of photos I would like to take, but things like physical inability have been the real deterrent. So lacking other ideas I decided to take another try at the dropping ice cubes in a glass of whisky shot. The reason for re-doing this image is that in my previous effort the cubes at the very top of the frame weren’t critically sharp. This time I clamped an ice scoop to a bar suspended above, precisely in-line with the glass, and made certain to select an aperture (f/8) that would assure sharpness.
And as whisky is something I don’t usually drink, I found that Micheals of all places sells brown food coloring, which mixed with water hopefully appeared close enough.
As it’s been years since the ice machine in our Palm Springs home has worked (and dang that made perfect, clear cubes), I decided to finally try the artificial ice cubes I had laying around. Now, custom, high quality artificial ice cubes, like Pepsi or Coke might have used in an ad (I am speaking of past tense as I am convinced that shots like that are all CGI now) cost $30, $40, $50 each. So these are vastly less expensive acrylic cubes.
Also, past efforts to capture this shot were always solo attempts. And it’s pretty tough to drop the ice and fire the shutter, given that there are only what feels like micro-seconds between events (gravity works fast). But Byron was a hero and agreed to assist me this time by releasing the cubes.
Three Nikon SB-5000 flash units were used. The center one had a 25-degree grid to create a circle of light, and a full CTO gel to make that light orange. Two other units were on either side of the glass, with no gels, bouncing off of white cards to add highlight details.
Nikon Z7 body, mounted to a Manfrotto tripod with an Acratech ballhead, Nikon FTZ adaptor with a Nikkor 85mm f/1.4 lens, ISO 64, f/8 at 1/200th of a second (flash sync).
After retouching all of the tiny, out of focus, extra drops of beverage flying up from that glass from each cube splash I made the last-second decision to crop a horizontal photo as a vertical. Having many megapixels to spare is a wonderful thing!
Paul-
This week’s theme seems to imply trying something that is a bucket-list-level activity as far as photography. I don’t have time for this level of immersion into our craft right now. However, if it helps, I have listed near the bottom of the page (in bold) an unrelated item on my bucket list that could certainly involve a fuselage-mounted camera. Alas, it was something I just couldn’t pull together this week.
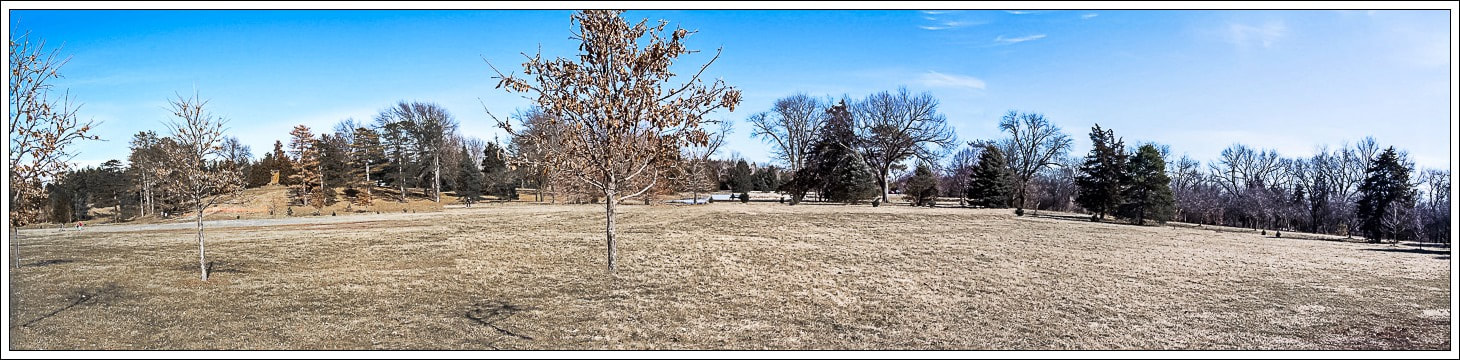
So I opted for something I have rarely done that also utilized an effects option on my camera I have never used before. This is a stitched panorama shot which included setting my D5200 to a special “Panorama” scene mode that claims to keep both foreground and background in focus as most people would want for this kind of shot. (Presumably, this mode does something beyond just stopping down the lens…perhaps it compensates for variations in light as the camera moves through the range of the shots.)
Lightroom does not have a stitching function, but it will certainly allow you to apply editing choices to all the selected shots at one time. And that I did. For the stitching of the panorama I used a long dormant freeware program on my computer called (appropriately enough) Image Composite Editor which contains a number of useful features.
What I didn’t do that I probably should have:
1) I have a “Panosaurus” tripod head I purchased several years ago that I have never gotten around to assembling and calibrating (the latter doesn’t look like too much fun). [https://www.tawbaware.com/panosaurus_review.htm]
It would have been instructive to see how this might make for a better end result.
2) The stitching program I used allowed for me to select a number of “projection” options (e.g. Mercator, Orthogonal, Cylindrical, Conic, etc.). As I only shot one “tier” of pictures—that is, I didn’t tilt the camera up or down to shoot a second or third row of images—the least distorting choice to display the image was your garden variety Mercator projection…which explains the overly thin “strip” you see. Next time…
Strafing Scientology’s Riverside HQ in a P-38 equipped with an egg-firing Gatling gun: (2:13PM facing east) Nikon D5200; Nikkor 18-55mm focused at 30mm; landscape program mode, pattern metered; ISO 200; 1/320 sec. at f/10. The camera was mounted on my “big boy” tripod at a height of about 6.5 feet.
Jerry-
For my bucket list assignment I chose to pretend I was a photojournalist exploring the lives of those less fortunate. The lives of people my wife refers to as "not so smarts" have intrigued me since my mid teens. Winos, street people, wanderers, the lost people of our culture. The person in this photo is actually employed but has a hard time understanding money and budgeting amongst many other things. I had gotten him a phone answering machine from the thrift shop and stopped by to install it. Although he works as a custodian, his housekeeping skills are not too sharp.
I used my iPhone 5 to take a quick panorama while he was digging through a box. I decided to reduce the resolution and block out his face - though I wrestle with showing this photo to even you guys. I used a poster edges filter in photoshop to make him more anonymous. Please keep this image to yourself.
I used my iPhone 5 to take a quick panorama while he was digging through a box. I decided to reduce the resolution and block out his face - though I wrestle with showing this photo to even you guys. I used a poster edges filter in photoshop to make him more anonymous. Please keep this image to yourself.

Don-
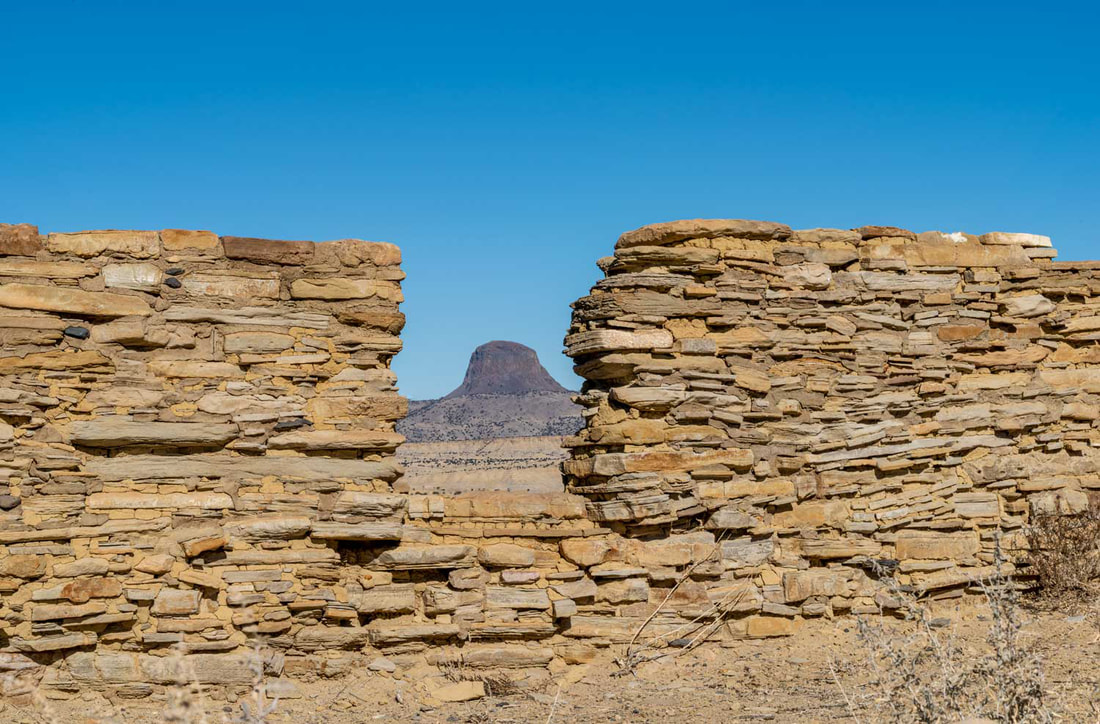
I shot a couple of pictures back in December at the Guadalupe Ruins.
I had wanted to try stacking them even though they were shot hand held.
Yesterday I gave it a shot.
Originally I was trying to shoot both Cabezon Peak, maybe 20 miles away and the stonework sharp,
hence shooting at f/18. I couldn't quite get them both. I thought
I might try editing and masking in photoshop the separate pictures to
get all sharp.
I remembered I wanted to do this but decided to try stacking. I took the photos
into camera raw and adjusted both pictures the same. For stacking this is considered a no-no.
Then into photoshop layers. Letting photoshop use its algorithms I had photoshop first align
them and then stack them and it worked perfectly. The jpg picture does not do
justice but it ain't bad.
I used a 35 to 150 mm lens set at 82 mm.
Exposure was f/18; 1/100 sec; ISO 100. Cam
era was held.
Now I know that I could do this with a much lower f stop so higher shutter